Read and write images
After this step you should know how to:
- modify/initialize image values,
- copy and paste data to an image.
- See also:
- tuto3_rw_image.cc
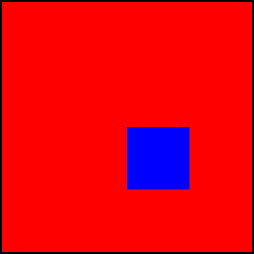
First create an empty color image with a box2d of 40x40 as domain.
image2d<value::rgb8> ima(40, 40);
If you want to initialize the image with the color red, simply call data::fill as follows:
data::fill(ima, literal::red);
Updating a site value is also possible using operator() or the opt::at() routine. Here we create a blue square of 10x10 pixels from site (20, 20) to (30, 30).
  for (def::coord row = 20; row < 30; ++row)
    for (def::coord col = 20; col < 30; ++col)
      ima(point2d(row, col)) = literal::blue;
  for (def::coord row = 20; row < 30; ++row)
    for (def::coord col = 20; col < 30; ++col)
      opt::at(ima, row, col) = literal::blue;
The corresponding image:
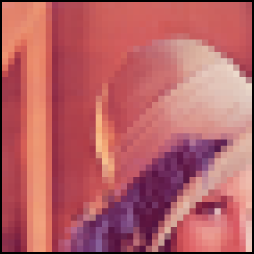
An image can also be initialized/modified thanks to another image. Let’s load a new image.
  image2d<value::rgb8> lena;
  io::ppm::load(lena, MLN_IMG_DIR "/small.ppm");
lena looks like:

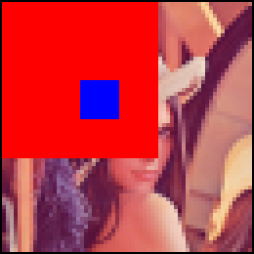
If we want to initialize ima with lena, we can use data::fill:
data::fill(ima, lena);
Output:
Note that to fill an image with some data, the image domain must
be smaller
or equal to the data.
Likewise, it is possible to paste data from an image to another:
data::paste(ima, lena);
Output:
More details can be found in sections Access and modify values , Fill and Paste in the reference guide.